The Idea
MinimalPad did not really start with keyboards. It started with photography.
I have always liked mechanical keyboards, shortcuts, and little tools that make creative work faster. When I got more serious about photography, I became very interested in how large commercial shoots handled all their files and media.
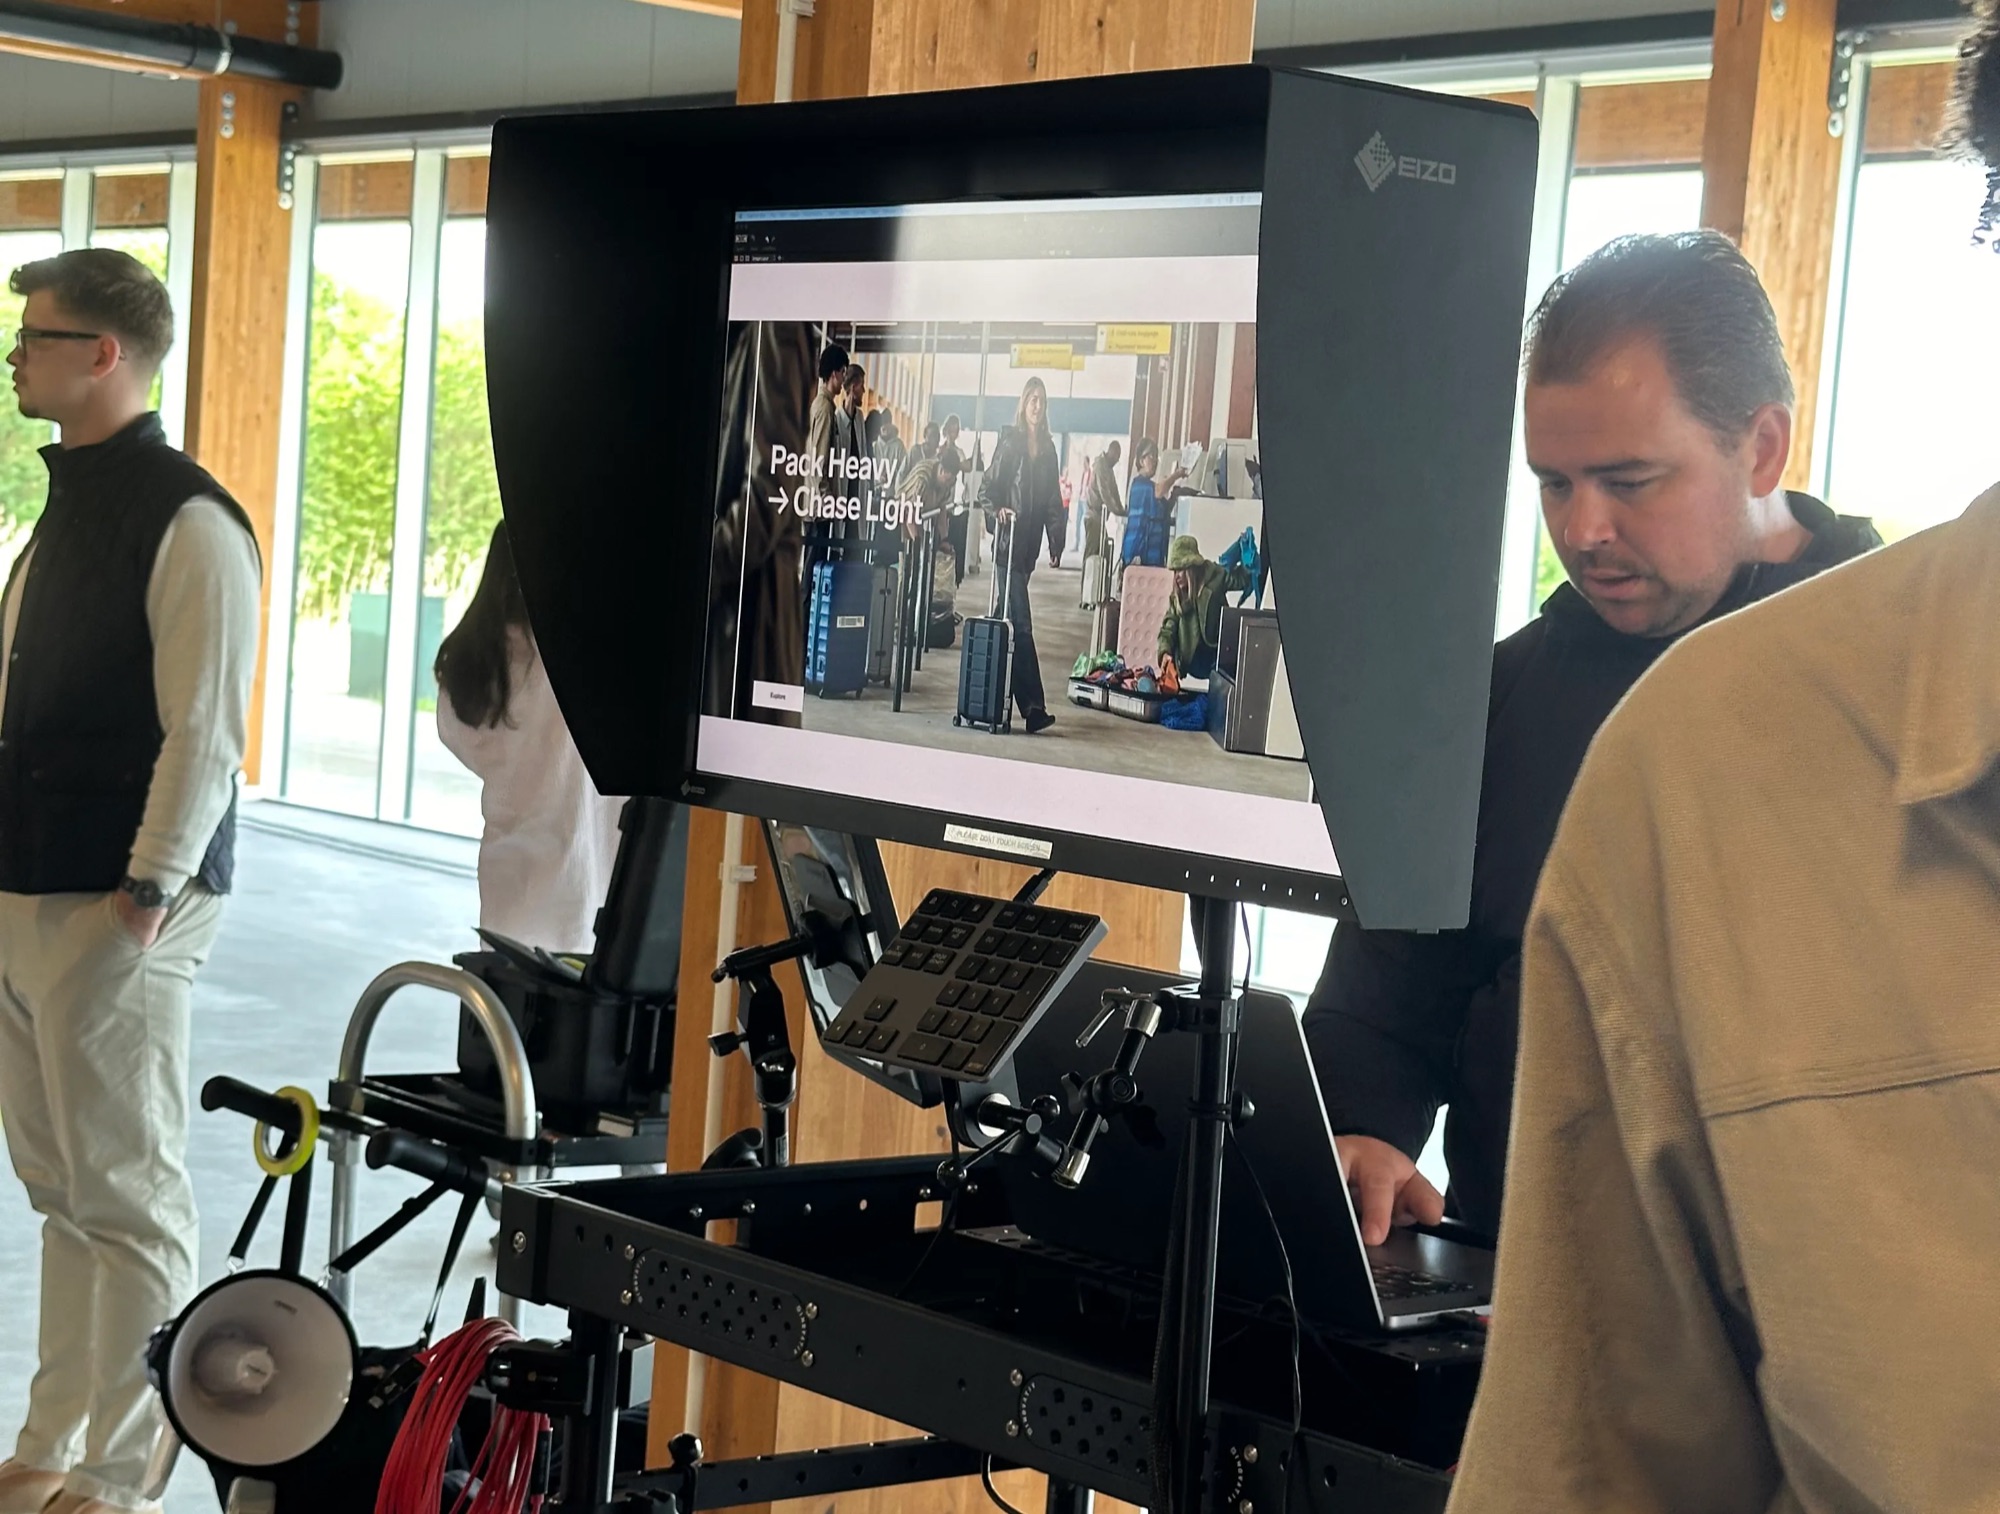
I was once part of a shoot where the photographers had this super cool cart next to them. While the shoot was still going on, people at the cart were already looking through the images, rating them, applying edits and graphics, and organizing everything in Capture One.
The whole setup was impressive, but the part that really stayed with me was quite simple. They were using an Apple keyboard with a numeric keypad that had been heavily remapped in software. Instead of remembering all the shortcuts or constantly going through menus, they had physical keys for the things they did all day.
I actually took a photo of the cart because I thought the setup looked cool. At that moment I had no idea that this small detail would lead to a very long side project.
I wanted something similar for my own Lightroom and photography workflow. Just a small keyboard next to my normal keyboard, with buttons for rating photos, changing tools, applying presets, and whatever else I was doing over and over again.
That was basically the idea. Nothing very complicated. I wanted a small box with physical shortcuts.
Building My First Macropad
During the COVID lockdowns, I started researching macropads and open-source versions that I could change for my own use. That quickly led me to the Dumbpad project by imchipwood.
It had a 4×4 layout, a rotary encoder, and an open-source PCB that I could order myself. It looked like a really good first project.
At the time I already had experience with 3D printing and product development through my day job, but I was not familiar with PCB design at all. The first time I opened PCB design software was just to make a small change to the silkscreen on the Dumbpad board.
I thought I would change some text, export the files, upload them to JLCPCB, and that would be it. Of course it was not that simple.
I suddenly had to learn what Gerber files were, what all the different layers meant, what files the manufacturer needed, and how to check whether I had exported everything correctly. It was a lot of new information for what was basically a very small visual change.
I eventually uploaded everything and ordered five PCBs. Five felt like a safe number. It was enough to make the project real, but not enough to end up with a huge box of useless boards if I had done something wrong.
Not long after ordering, I got an email from the manufacturer with a question about the design.
I did not really understand what they were asking, so I replied with something like, “It is okay, please proceed.”
They emailed me again because they still needed an actual answer. I replied again that it was okay and that they could proceed.
This happened three times.
Eventually they cancelled my order because they needed to know something specific and I clearly was not telling them. Honestly, that was probably the right choice. I was basically saying “yes” to a question I did not understand and hoping that confidence would somehow solve it.
After some more research, I figured out what they needed and placed the order again. A little while later I had five real PCBs in front of me.
The first Dumbpad worked. I soldered the components, assembled it, connected it to my computer, and started using it for Lightroom and other photography work.
I really loved the process. There is something very satisfying about ordering a PCB, soldering all the parts, solving the small issues, and then actually using the finished thing every day. It also made electronics feel much less mysterious. You start to realize that many of the products on your desk are just understandable parts put together in the right way.
The Dumbpad was useful, but mine looked a little janky. It looked like what it was: my first electronics project based on an open-source PCB. That was completely fine, but I wanted something that felt a bit more finished and premium.
I also started contributing some documentation updates and support back to the Dumbpad repository. I was still learning myself, but I could document the parts that had confused me and make things slightly easier for the next person.
That experience became my first article about how to build a macropad. I thought a few people might find it, but the article got much more traffic than I expected.
Apparently I was not the only person trying to figure out how to build one of these things.
That was when I started thinking about making my own version.
MinimalPad
There were already several versions of the Dumbpad. Some had been changed to use different switches, some had hot-swap sockets, and others had RGB underglow or different cases.
I wanted to combine some of those ideas, but I also wanted to change more than that.
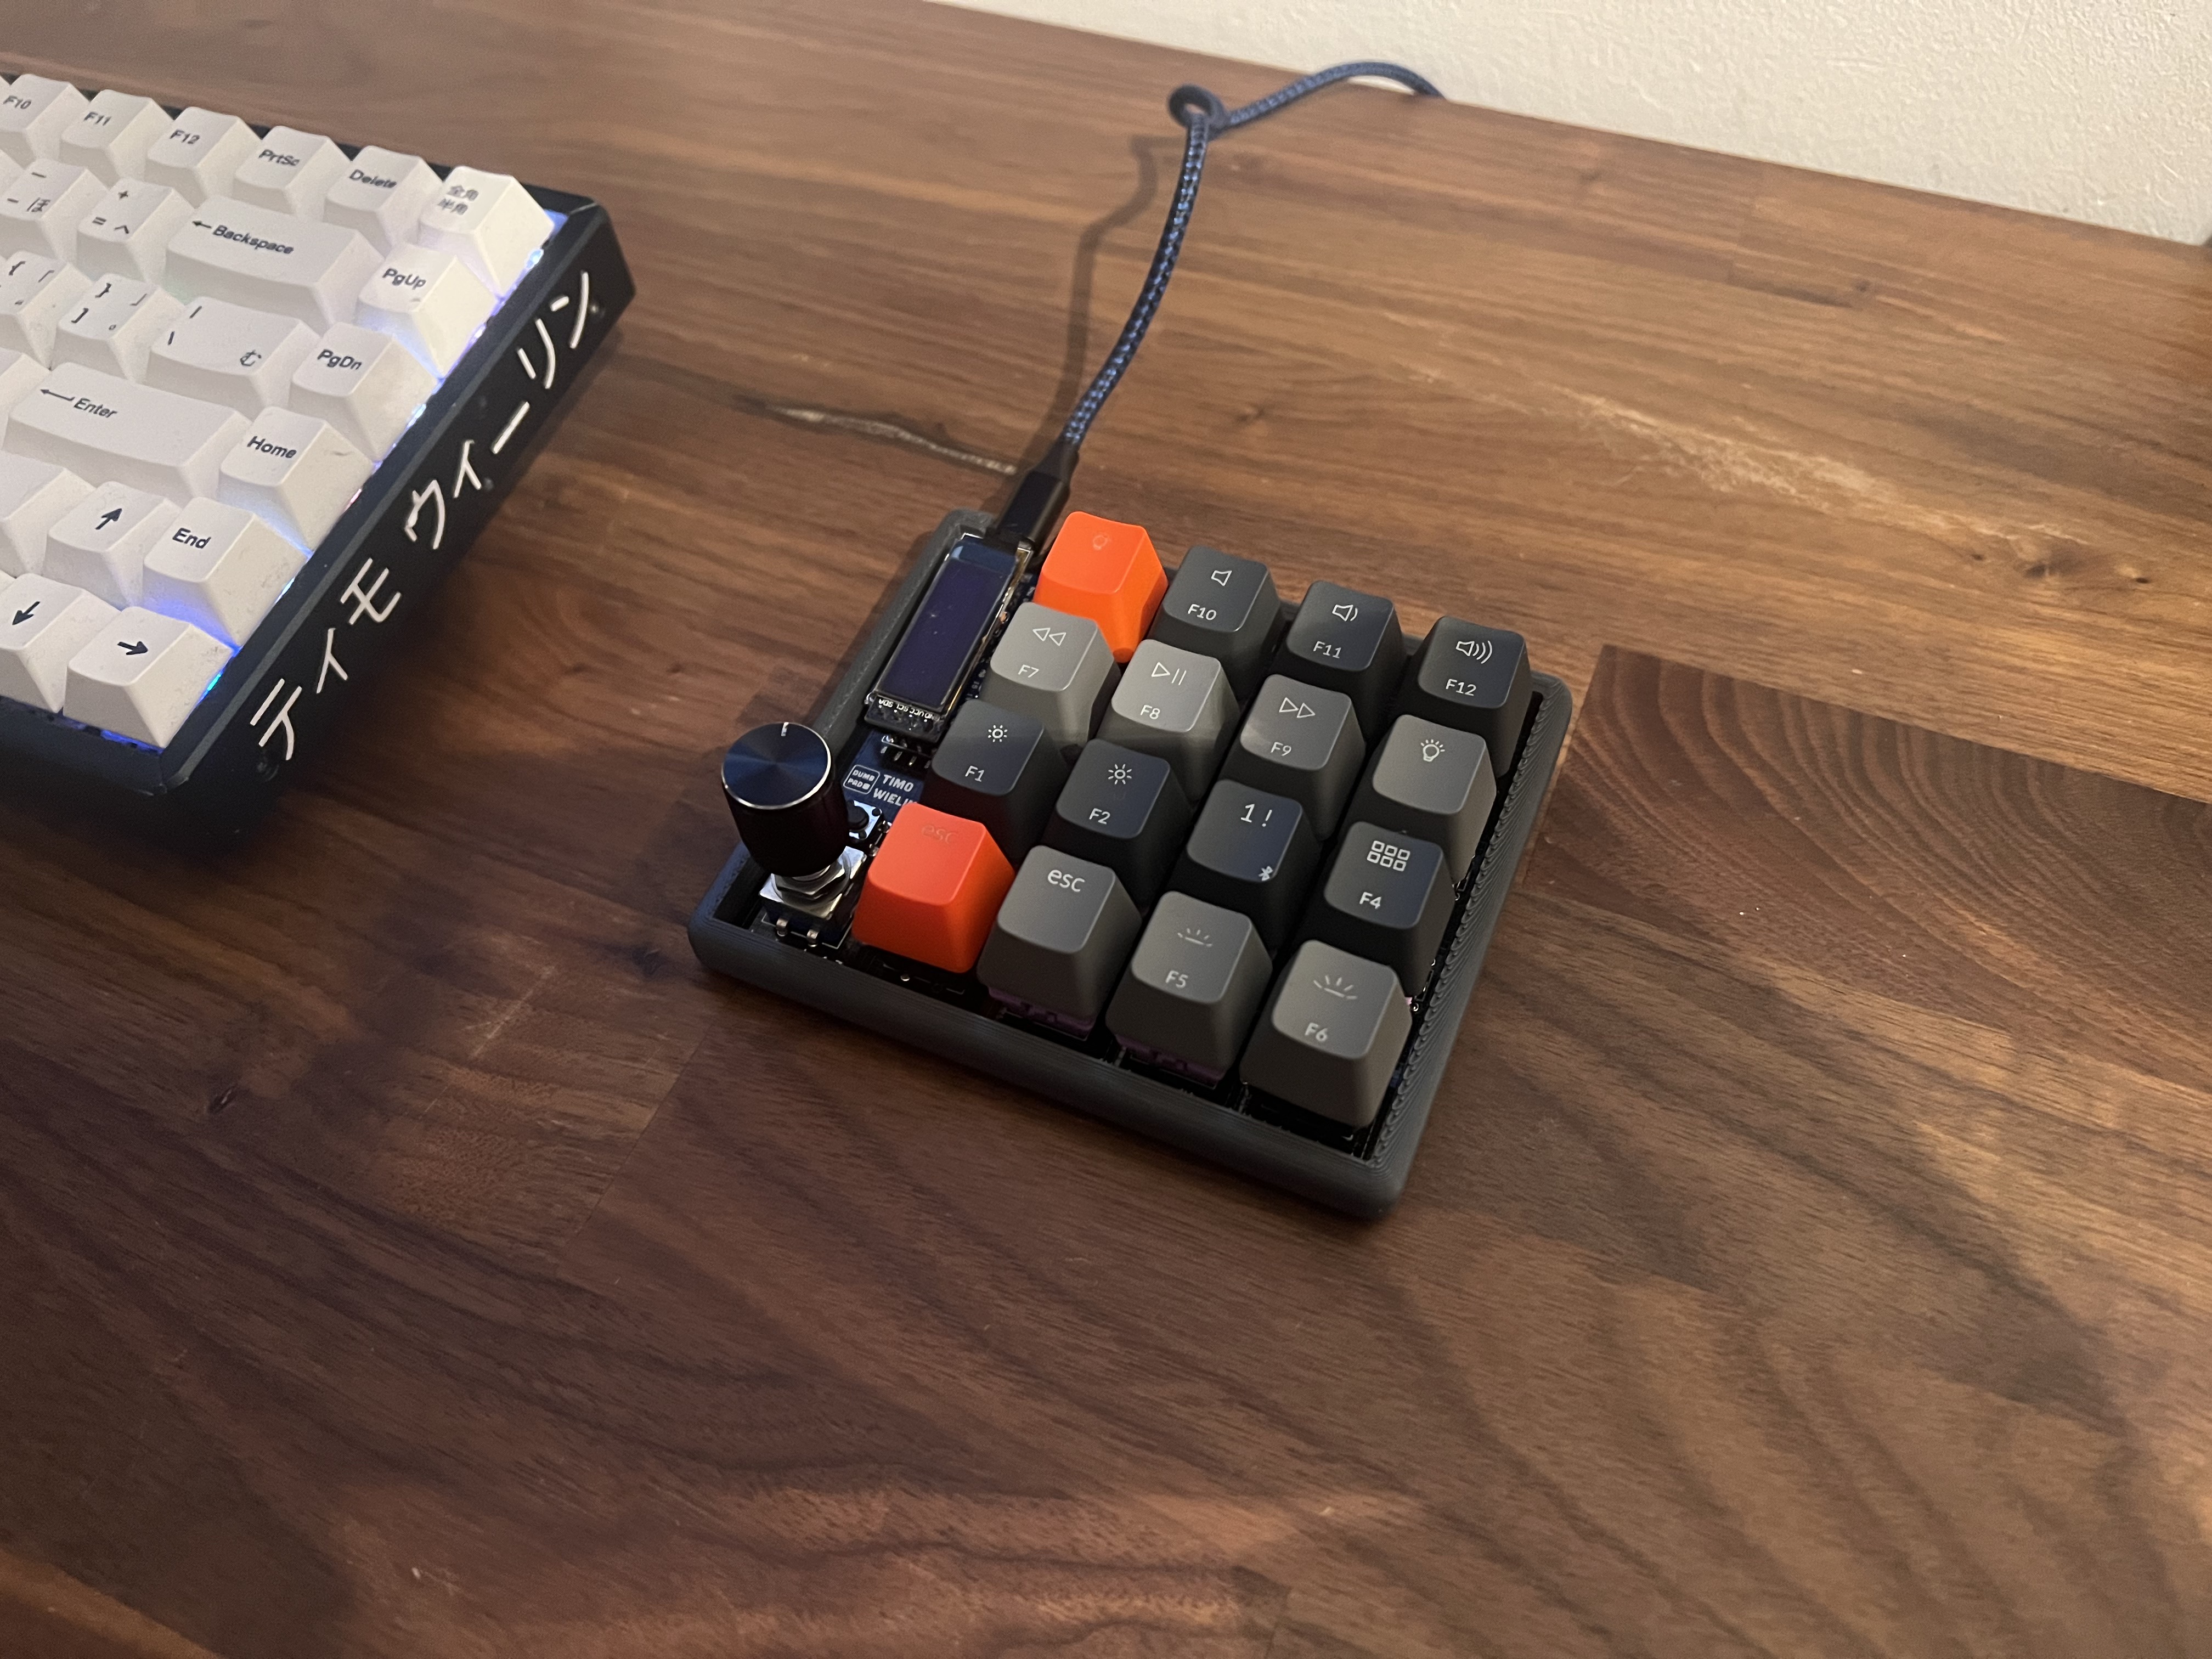
I had become used to the 4×4 layout and rotary encoder, so I kept those. But I wanted the device to be lower, cleaner, and wireless. I wanted RGB underglow without making it look too much like a gaming keyboard. I wanted low-profile switches, and I wanted a proper way to configure it without needing to edit firmware every time.
Most of all, I wanted it to look intentional. Something that could sit next to a nice keyboard, a laptop, or a photography setup without looking like a temporary prototype.
That became MinimalPad. The name was quite literal. It was a minimal macropad, and I liked that I did not need a complicated explanation around it.
For the switches, I settled on Kailh Choc low-profile switches. They allowed me to keep the device thin, and they have a useful opening for the LEDs, which worked nicely with the RGB underglow I wanted.
The controller was a bigger decision. I eventually settled on the Nice!Nano V2 platform. It is expensive for such a small board, and there are plenty of clones, but it has great wireless support and works well with ZMK.
ZMK gave me the flexibility I wanted, although changing a layout manually can still feel like a developer project. I enjoy figuring that stuff out, but I did not want everyone who bought a MinimalPad to need the same hobby.
So I built the MinimalPad Configurator to make the common changes easier: select a key, choose an action, create the configuration, and get back to work. It is still something I want to keep improving, but it makes the hardware much more approachable.
AI tools have also made the pad feel more useful than when I first designed it. I use Whisper and other speech-to-text tools a lot, and a physical key can start or stop dictation, open a tool, paste a common instruction, or trigger an automation. MinimalPad is not doing the AI work itself; it just removes the annoying clicks around it.
With all the AI madness going on, I started feeling that this small product could be useful for a lot more people than I originally imagined.
The Delay
I am writing this a long time after the first MinimalPad prototypes, because building the product and actually launching the product turned out to be two very different things.
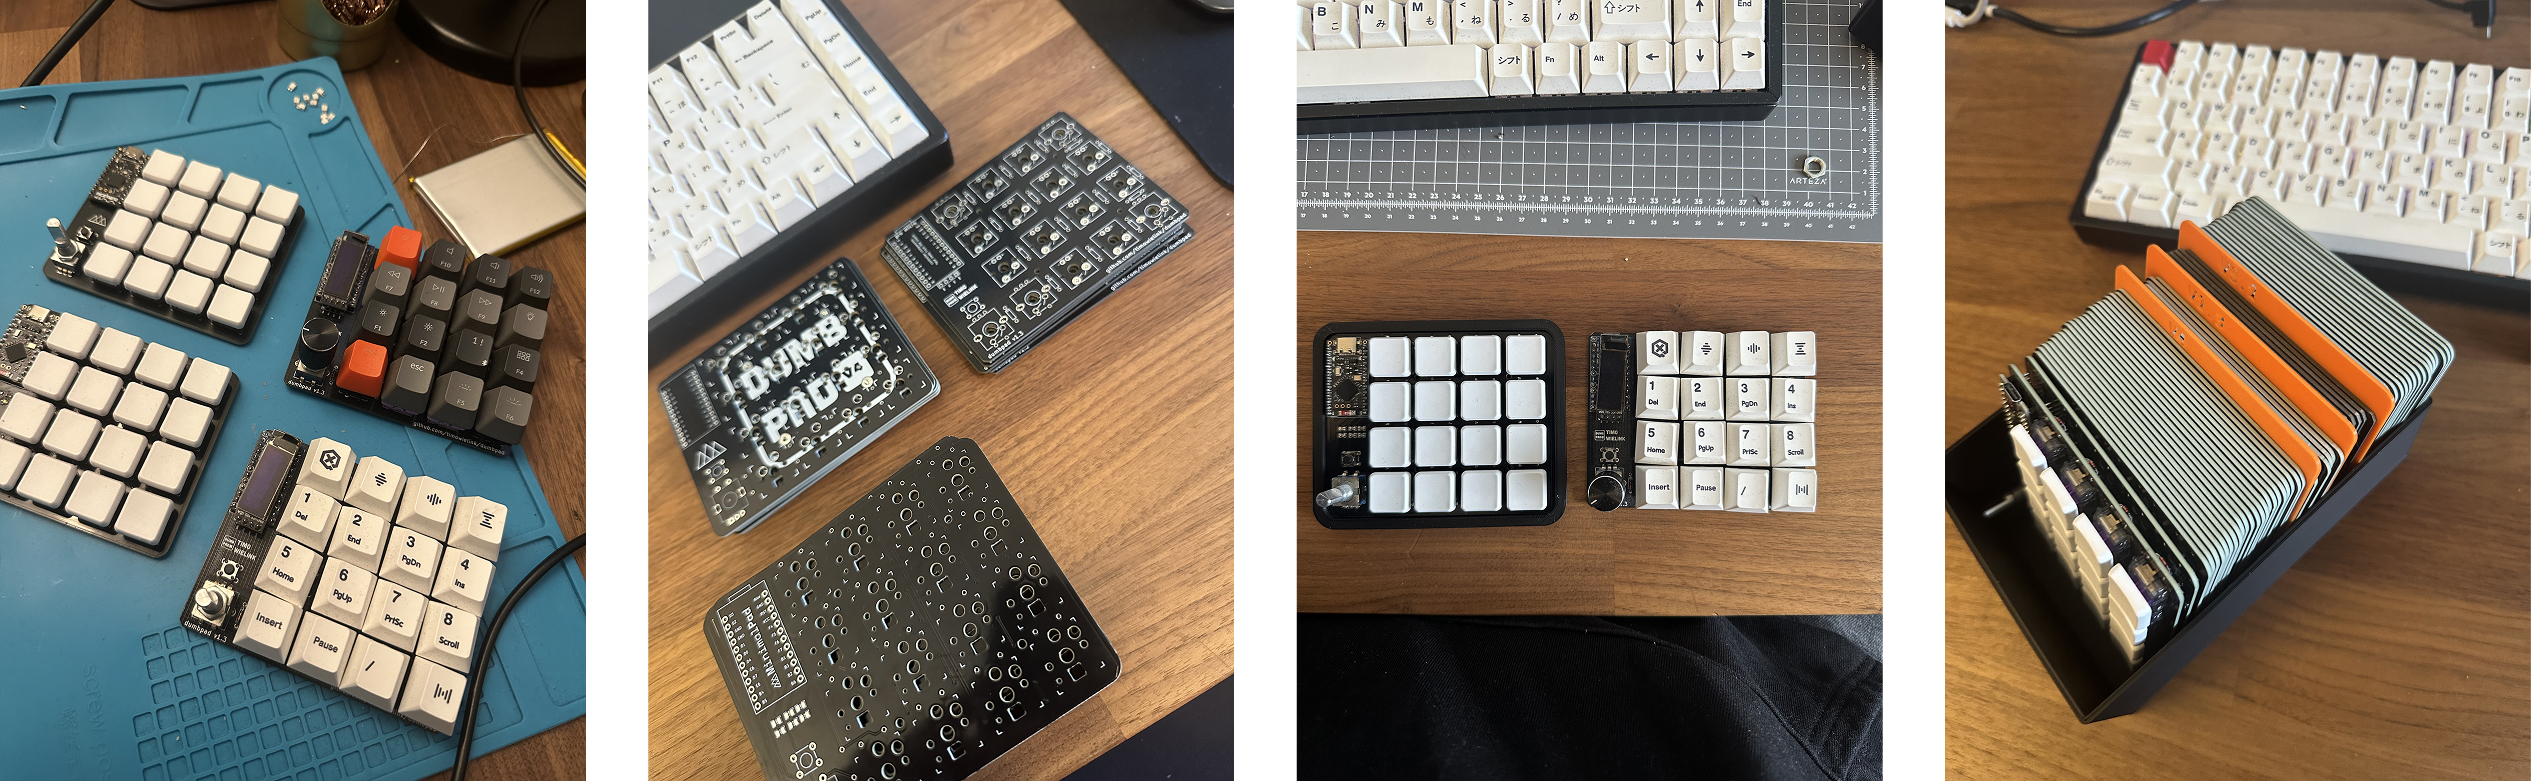
The prototypes showed that the idea worked. The layout felt good, the controller worked, the switches and LEDs did what I wanted, and the firmware was flexible enough.
The difficult part was deciding when it was ready to sell.
The Side Quests
I am a designer and also a bit of a perfectionist. That combination can be useful, but with MinimalPad it created a lot of side quests.
I spent way too much time in Figma working on the brand, website ideas, product presentations, packaging, small design tweaks, and different versions that nobody had asked for yet.
Then I decided the product needed professional 3D renders, so I started learning more Blender. Suddenly I was thinking about materials, lighting, camera angles, reflections, and how to make a tiny PCB look perfect in a render.
I really enjoyed learning Blender, which was part of the problem. It felt productive because I was technically working on MinimalPad. The renders got better and the project looked more real on my screen, but nobody could actually buy one.
Then there were the custom keycaps.
I wanted proper custom keycaps with the right legends, colors, materials, and finish. So I started talking to suppliers, learning about manufacturing methods, comparing options, and finding out about minimum order quantities.
Custom parts sound simple until you try to source them. Every small choice changes the cost, lead time, tooling, or number you need to order. I was basically solving mass-production problems for a product that had not sold a single unit.
I also spent time trying to find a factory that could assemble everything. A factory felt like the “proper” way to launch a hardware product. It sounded official and scalable.
It also meant minimum quantities, upfront investment, logistics, quality control, packaging requirements, and a lot of decisions that would become expensive to change later.
I was preparing MinimalPad for mass production before I knew whether I needed mass production.
None of this was completely wasted. I learned a lot about rendering, manufacturing, sourcing, keycaps, packaging, and how complicated even a small hardware product can become.
But all of it delayed the actual launch.
The funny thing is that I already knew the lesson. I have repeated it countless times at work: sell it first, learn from real users, and then improve it.
Apparently that advice only applied to other people’s products, haha.
For my own little macropad, I had somehow decided that I needed perfect renders, custom keycaps, a factory, perfect packaging, finished software, complete documentation, and answers to every future question before I was allowed to launch.
There was always one more thing. Another case adjustment. One more configurator feature. A different keycap idea. Another supplier conversation.
At some point I was not really improving the version in front of me anymore. I was polishing an imaginary future version.
About half a year ago, I decided I just wanted to get the project finished and see what would happen.
That did not mean shipping something bad or lowering the standard. It just meant making the first version smaller and more honest.
I did not need a factory and thousands of units. I could start with kits and assemble finished MinimalPads myself.
I did not need custom keycaps before the first sale. I could use the good parts that already existed and come back to custom parts when there was actually a reason to manufacture them.
I did not need every possible software feature. I needed a configurator that worked, good documentation, and a way to keep improving it.
Most importantly, I needed real people using it. There is only so much I can learn by looking at my own renders and testing the same setup on my own desk.
The Launch
MinimalPad is still a one-person project. I work on it from my home office in Amsterdam.
I design the hardware, work on the configurator, write the documentation, manage the website, talk to suppliers, prepare the kits, and answer support questions.
When somebody orders an assembled MinimalPad, I solder it, flash the firmware, test every key, check the encoder and LEDs, inspect the board, and pack it myself.
The same desk where I work on a new configurator screen also becomes the soldering and testing bench.
There is no factory line or fulfillment team behind it. This makes the process slower and not extremely scalable, but I do not think scalability is the problem I need to solve yet. First I want to get a good product into the hands of people who actually want to use it.
I also genuinely like doing the work. I like soldering the boards, seeing the LEDs turn on, and testing every key. It is satisfying to know that something I assembled is going to end up on somebody else’s desk.
The kits are for people who want the building experience themselves. The assembled version is for people who want the tool without needing to turn it into a soldering project. Either way, every order is packed or built by me.
What Comes Next
I honestly do not know how many people will want one. That is slightly scary after spending so much time on it, but it is also why I finally need to launch.
I am excited to sell the first units, but even more excited to learn from the people who use them. I want to see which shortcuts they build, where the configurator is confusing, and what should improve in the hardware and software.
Maybe somebody will use it for Capture One or Lightroom, bringing the project back to the photography cart that started all of this. Others might use it for coding, Blender, Whisper, speech-to-text, AI skills, or just sixteen simple shortcuts. All of those are valid.
There will probably be a MinimalPad V2, because of course I already have ideas. But this time I do not want to design it alone in a vacuum. V2 should grow from people using V1 and giving it a reason to exist.
MinimalPad would also not exist without open-source projects and communities. Dumbpad gave me a place to start, while ZMK and the Nice!Nano ecosystem made the wireless version possible.
I learned by building, making mistakes, and contributing small things back where I could. MinimalPad is my version of that same process: start with something useful, make it personal, share it, and slowly make it better together.
After years on my desk, I finally want to see what happens when MinimalPad reaches somebody else’s.